From time to time you may need to modify an existing cPanel account. The most common reason for modifying an account is to increase or decrease the amount of disk space and bandwidth assigned to an account.
To do this you have two options:
1. Edit the existing package assigned to the account
2. Create a new package and then assign it to the account
If you have multiple cPanel accounts sharing the same package then the second option is going to be best for you. If you edit the existing package it will impact all cPanel accounts using that package and not just the account you are trying to modify.
This guide will show you how to do both options so you'll need to decide which option is best for you.
Editing The Existing Package
1. To edit the package currently assigned to an account the first step is to find out the name of the package assigned to the account.
To do this, log into your WHM control panel and click on "List Accounts".
![]()
You will be able to see all of your cPanel accounts listed, and one of the columns is labelled "Package". If you look at this column it will show you the name of the package currently assigned to the cPanel account. Make a note of the package name as this is the package you will need to edit.
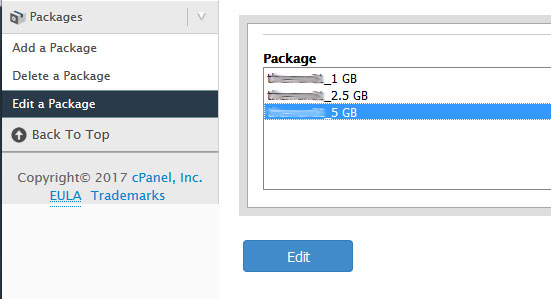
2. Click on the "Edit a Package" link down the left hand side of the page and then select the package you wish to edit and then click on the blue "Edit" button.
3. You can then edit any of the package values (including the Disk Quota and Bandwidth) apart from the package name. When you have made your modifications click on the blue "Save" button at the bottom of the page.
When you have saved the package, the changes will take effect to any cPanel account using that package.
Creating a New Package & Assigning To The Account
1. Create the new package as shown in this guide.
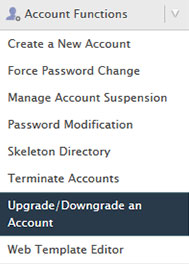
2. Whilst logged into WHM, click on the "Upgrade/Downgrade An Account" link down the left hand side of the page. If you have multiple accounts to modify you can use the "Modify/Upgrade Multiple Accounts" link instead but for this example we will use the standard "Upgrade/Downgrade An Account" option.
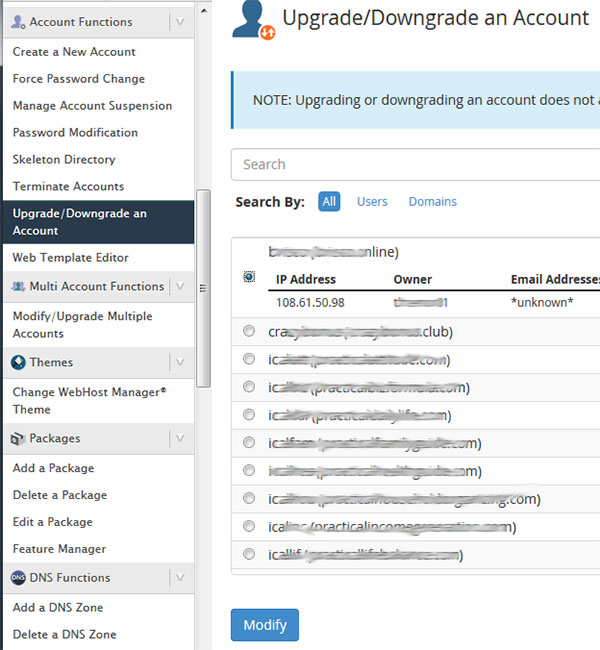
3. Select the domain you would like to modify and click on the blue "Modify" button.
4. You will then see a screen that shows the current package assigned to the account and underneath that a list of available packages that you can upgrade/downgrade to. You should be able to see the package you created in step 1 listed. If so select the package and click on the blue "Upgrade/Downgrade" button to complete the process.
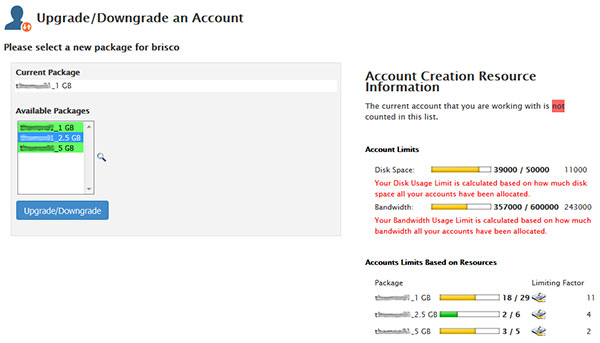
Note: When upgrading an account do keep in mind the overall disk space and bandwidth limits on your account. If you attempt to modify an existing package and increase its Disk Space or Bandwidth limits to a value that takes you over the overall limits on your account then the account modification will not work.
If you create a new package with more Disk Space and Bandwidth than is available to you, the package will appear in red in the drop down list and you wont be able to select it. To read more about how the Disk Space and Bandwidth limitations work please read the following guide.
