You can follow the steps below to configure an email account that has been created via cPanel in the default Android email app. The wording may be slightly different depending on the kind of Android phone/tablet you are using but for the most part the steps will be roughly the same. This guide assumes you have already created the email account.
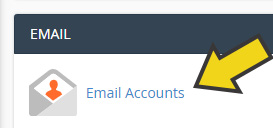
1. Log into cPanel and click on the "Email Accounts" icon.
2. Click on "Connect Devices" next to the email account you are looking to configure.

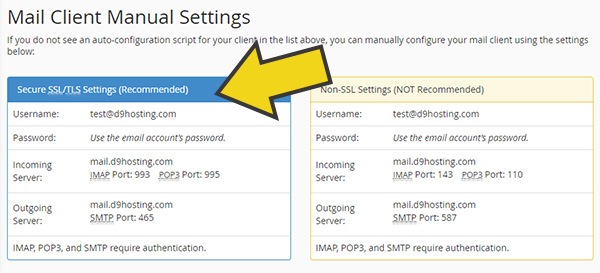
3. You will then be able to see the settings that you can use to connect your email client. There are both secure and insecure options, we highly recommend you use the secure settings. Keep this page open as you will need to enter these settings in your email client.
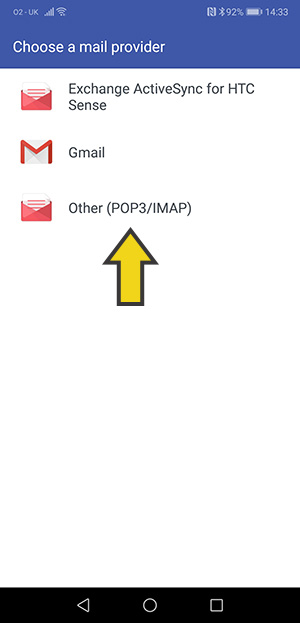
4. Find and open the "Email" app on your Android device (It may also be called "Mail"). If you haven't yet set up any mail accounts in the app you will be presented with the screen you can see below and you need to select "Other (POP3/IMAP)". If you already have an existing mail account set up click on the 3 vertical lines in the top right of the app and select "Add account" and you will then be presented with the screen below.
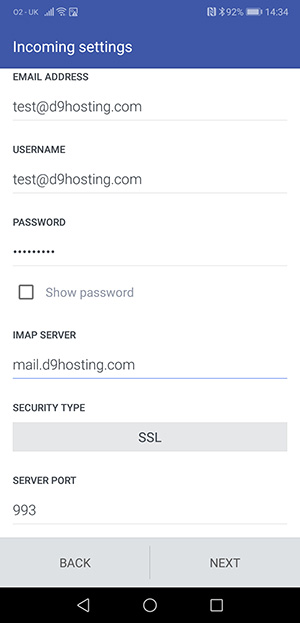
5. You will then be asked to enter the incoming connection details for your mail account. The details you need to enter are those that you found in step 3, so go back to cPanel and enter the correct details. Please note that the screenshot below is used as an example only and the actual connection details you need to enter can be found in your cPanel.
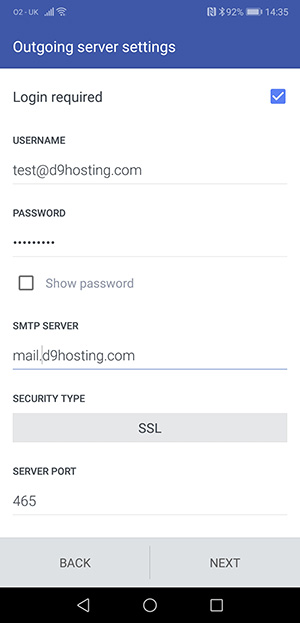
6. After clicking on "Next" you will then be asked to enter the outgoing connection settings. As above, the settings to use can be found in cPanel as described in step 3.
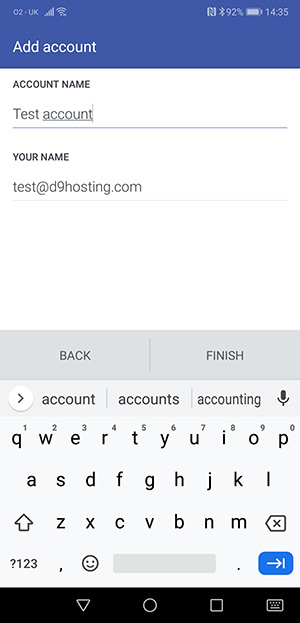
7. After clicking on "Next" you will be asked to give the newly created account a name. When you have done this click on "Finish".
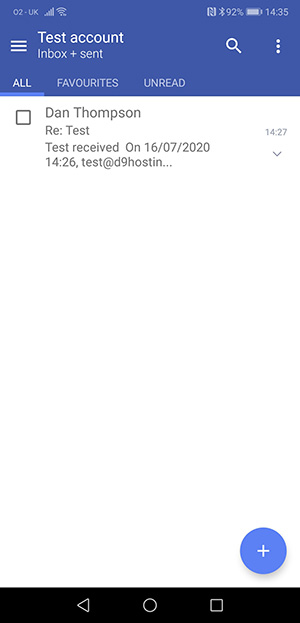
8. Assuming you have entered the connection details correctly your new email account will be set up and ready to use. You can click on the "Email" app anytime you wish to use the email account.