Note: This guide is applicable to customers with a Shared, Multi Site or Reseller Account. It is also applicable to VPS and Dedicated Server clients who pay for managed backups.
D9 Hosting takes regular external backups of all customer accounts. These can be used to recover from a disaster (ie: a complete hardware failure that requires a server rebuild) and also to restore any of the following in case of accidental deletion or a script upgrade not going to plan:
- Full cPanel Accounts
- Individual Files
- Individual Databases
- Individual Cron Jobs
- Individual DNS Zones
You can request a restore of any of the above by contacting D9 Hosting technical support and you can also download (and in some cases, restore) any of the backups for safe keeping from within cPanel by following the steps below.
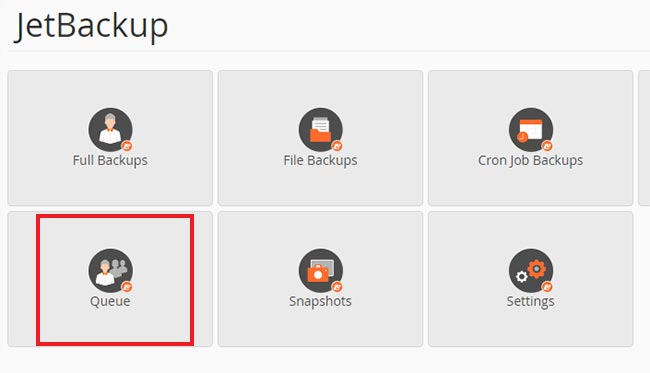
1. Log into cPanel and click on the "JetBackups" icon.
![]()
2. You can then download any of the highlighted backups below to your computer for safe keeping by clicking on the appropriate icon and then clicking on the "Generate Backup" icon.
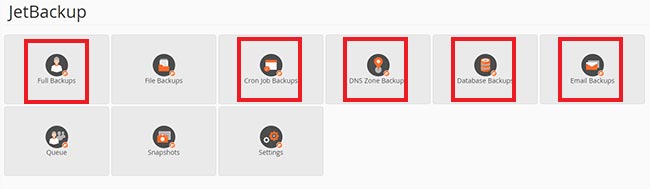
If you need any of the highlighted options restoring then please open a ticket with technical support and we will be happy to restore for you free of charge.
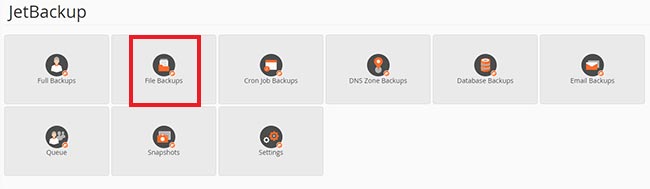
3. If you only want to restore individual files you can do this by clicking on the "File Backups" icon.
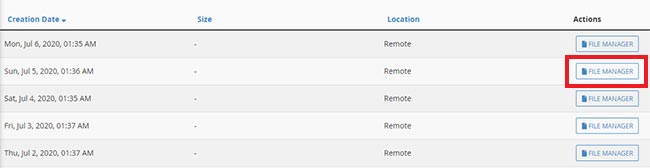
4. You will then be shown a number of different backup restore points that are available to you. Our premium Shared, Reseller and Multi Site plans all come with 30 days of restore points as standard but our standard plans will only have 1 restore point available.
Click on the "File Manager" icon next to your preferred restore point to browse the files on the backup server.
When you have found the files or folders that you would like to restore click on the check box next to the file/folder and click on the blue "Restore Selected" icon.
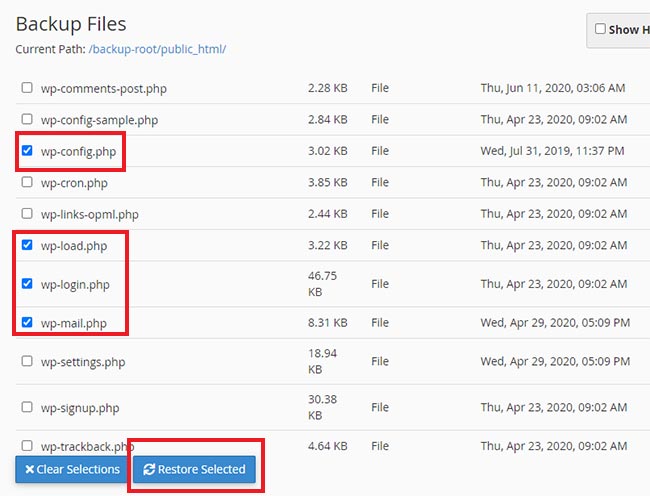
That's it! The files will then be sent to the restoration queue to be processed. You can view the restoration progress by clicking on the "Queue" icon on the main JetBackup screen.
Remember, if you don't feel comfortable restoring your own backups simply open a ticket with technical support and a member of the team will be happy to assist.
